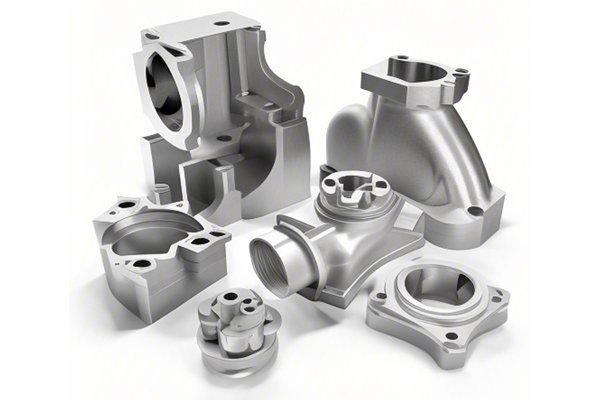
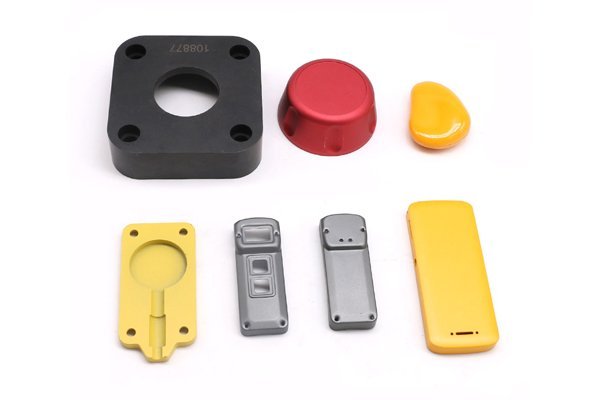
Did you know that nearly 70% of manufacturing defects can be traced back to poor surface treatment quality? It’s a startling figure that emphasizes the critical role surface finishing plays in the CNC machining process. With industries relying heavily on CNC (Computer Numerical Control) machining to create Precision components, ensuring surface treatment quality is not just an option – it’s a necessity. In this blog, we will explore the various detection methods used in CNC machining to guarantee high-quality surface treatments, helping to not only elevate your manufacturing processes but also enhance product performance.
CNC machining involves the use of computer-controlled machines to manufacture a variety of parts and products from different materials. CNC machines can handle a range of processes, including milling, turning, drilling, and grinding. The precision and repeatability offered by CNC machining have revolutionized the manufacturing landscape, allowing for the production of complex geometries with tight tolerances.
The focus on surface treatment is paramount in ensuring that these manufactured parts perform optimally under different conditions. Surface treatments can enhance a part’s resistance to wear, corrosion, and fatigue, ultimately prolonging its lifespan.
High-quality surface treatment is essential in various industries such as aerospace, automotive, medical, and electronics. For instance, components used in aerospace applications undergo rigorous testing to ensure their strength and durability. Poor surface treatment can lead to catastrophic failures, resulting in loss of life or significant financial losses.
Additionally, the aesthetic quality of a product can be a deciding factor for consumers. A uniform finish plays a critical role in attracting customers and ensuring brand loyalty. Thus, companies must prioritize quality assurance measures throughout the CNC machining process.
Before diving into the detection methods, it is essential to understand the common surface treatment techniques applied in CNC machining:
Understanding these methods can provide context as we investigate the detection methods that ensure their quality.
Let’s delve into specific detection methods that CNC machining companies can utilize to maintain and enhance surface treatment quality.
4.1 Visual Inspection
What It Is: This is the simplest and most direct form of inspection where skilled operators assess the surface finish through visual observation.
Why It Matters: Visual inspection allows for immediate identification of issues such as scratches, uneven finishes, and discrepancies in color. It is particularly useful during the final stages of production when aesthetic appearance is paramount.
Best Practices:
4.2 Surface Roughness Testing
What It Is: Surface roughness testing quantifies the texture of a surface. Commonly used techniques include mechanical profilometers, which measure the height variability over a given distance.
Why It Matters: The surface finish affects how components interact with each other and with their environment. Surface roughness can significantly influence friction, wear, and adhesion properties.
Best Practices:
4.3 Dimensional Inspection
What It Is: This ensures that the geometric dimensions of a part adhere to specified tolerances. Coordinate Measuring Machines (CMMs) are frequently used for this purpose.
Why It Matters: Dimensional inaccuracies can lead to poor fit and function even if the surface finish appears satisfactory. Proper dimensional control improves product consistency and reliability.

Best Practices:
4.4 Non-Destructive Testing (NDT)
What It Is: NDT methods such as ultrasonic testing and dye penetrant testing are employed to locate internal and surface flaws without damaging the parts.
Why It Matters: Detecting defects before they reach the customer saves time and costs on rework and replacements.
Best Practices:
4.5 Optical Inspection
What It Is: This method uses cameras and sensors to analyze surface characteristics and detect anomalies at a granular level.
Why It Matters: Optical inspection offers high-speed and high-accuracy solutions for detecting subtle imperfections that might escape visual inspection.
Best Practices:
As industries strive for higher efficiency, firms are integrating automated systems for surface quality detection. Automated visual and optical inspections reduce human error, increase throughput, and consistently collect data for better analysis. Implementing machine learning algorithms can also enhance detection capabilities by allowing systems to learn from previously collected data.
Despite robust detection methods, quality assurance in surface treatment can come with challenges. Some common issues include:
Addressing these challenges involves a combination of careful selection of materials, strict adherence to environmental controls, and regular machine maintenance checks.
To contextualize the importance of quality detection methods, let’s consider case studies from various industries:
In summary, the quality of surface treatment in CNC machining is vital for the performance, reliability, and aesthetic value of manufactured parts. By employing effective detection methods such as visual inspection, surface roughness testing, dimensional inspection, non-destructive testing, and optical inspection, manufacturers can achieve high standards of quality assurance.
As industries continue to evolve, incorporating automation and advanced technologies into quality control processes will be essential. The importance of stringent inspection measures cannot be overstated, as it significantly reduces the costs associated with defective products while enhancing customer trust.
Understanding and implementing these detection methods not only ensure the integrity of CNC machined components but also pave the way for innovation and excellence in manufacturing. As we look toward the future, it becomes evident that investing in quality control and surface treatment will remain the cornerstone of successful CNC machining operations.
By keeping quality at the forefront, manufacturers can distinguish themselves in a competitive marketplace, ultimately leading to sustained growth and profitability. Remember, ensuring high surface treatment quality is not just a checkpoint in the manufacturing process—it’s a commitment to excellence that resonates throughout each product delivered.


