Imagine entering a workshop where the air hums with the rhythm of machinery, the shimmering surfaces of brass gleam like gold under fluorescent lights. You take a deep breath, filled with the scent of metal shavings and the robust noise of tool cutters dancing against the raw brass. This environment isn’t just a workspace; it’s a symphony of precision, engineering finesse, and artistry. Have you ever wanted to embark on your own journey into the world of machining brass? If so, you’re in the right place. Whether you’re a seasoned machinist or a curious newcomer, this comprehensive guide will reveal everything you need to know about machining brass effectively.
Why Choose Brass for Machining?
Before we dive headfirst into the techniques and machinery, let’s take a moment to understand why brass is the material of choice for many machining operations. Brass, an alloy primarily made of copper and zinc, boasts several remarkable properties.
The Basics of Machining Brass
Before we jump into the advanced machining techniques, let’s get grounded in the essentials. Machining brass involves several processes, including turning, milling, drilling, and grinding. Each method serves distinct purposes and leverages specific tools. Let’s unpack these processes:
Turning Brass
Turning is one of the most common brass machining techniques. This process involves a rotating workpiece and a stationary cutting tool that shapes the brass into the desired form. The beauty of turning lies in its capability to create cylindrical parts with high accuracy.
Milling Brass
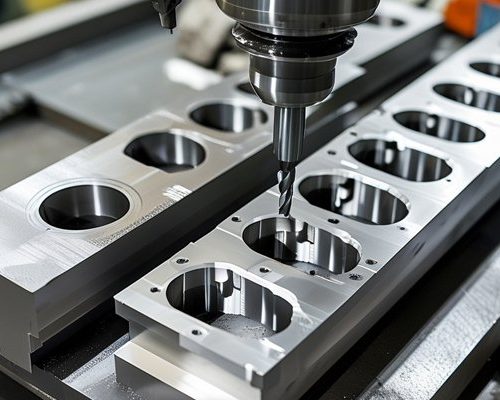
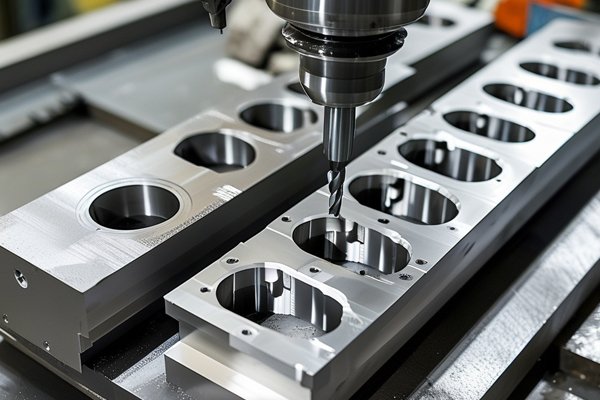
Milling, on the other hand, involves removing material from a workpiece using rotating cutters. This skill is crucial when creating flat surfaces, slots, or complex contours in brass pieces.
Drilling Brass
Drilling is straightforward yet essential. It introduces holes into brass components—be it for fasteners or aesthetic perforations.
Grinding Brass
Lastly, grinding refines the surface finish of a machined brass part. It’s like the final polishing of a diamond; it enhances the component’s functionality and visual appeal.
Essential Tools for Machining Brass
Now that we’ve laid the groundwork on processes, let’s peek into the toolbox. Having the right tools is like a musician having their instrument tuned – it makes all the difference in the world.
Techniques for Effective Brass Machining
Think of machining brass as a dance; it requires rhythm, precision, and the right steps to create a harmonious end product. Here are some crucial techniques to enhance your brass machining skills:

When it comes to tooling, the right choice can be decisive. Brass is a “soft metal,” meaning it cuts easily compared to steel. As such, tools made from high-speed steel (HSS) or carbide are commonly preferred. Remember, sharp tools are your allies – dull tools can cause overheating, poor finishes, and even tool failure.
Finding the sweet spot for speeds and feeds is essential. Typically, brass is machined faster than steel. The key is to find a balance to avoid work hardening and potential tool damage. Experimenting with different settings on your CNC machine or lathe can help you achieve the optimal conditions.
Machining generates heat, and heat is the enemy of any machining process. Keeping your workpiece cool can drastically improve tool life and surface finish. Techniques such as flood cooling or using mist coolant can be incredibly effective, especially with brass, as it has a lower thermal conductivity compared to other metals.
Investing in the correct tool geometry is another crucial step. Using tools with the right rake angle can significantly affect the machining process. For example, positive rake angles help in cutting softer metals like brass, allowing for smoother cuts and reduced tool wear.
Getting your workpiece set up correctly is like ensuring a clear stage for a performance. Misalignment can lead to myriad issues, including inaccuracies in machining and increased wear on tools. Use vices or clamps that provide a solid and accurate hold on the brass part.
Common Challenges in Machining Brass and How to Overcome Them
Even seasoned professionals can encounter a few pitfalls when machining brass. Here are some common challenges and tips to tackle them:
Similar to a stubborn ink stain on your favorite shirt, work hardening can be frustrating. It occurs when brass is deformed during machining and can make further cutting difficult.
Chips—those pesky little metal particles—can easily clog cutting tools, leading to poor finishes or tool breaks.
No one wants a rough, uninspired finish on their brass piece. While machining brass typically yields a fine surface, it’s essential to be aware of factors that contribute to rough surfaces.
Safety Considerations While Machining Brass
Before we wrap up and hand over our newfound knowledge, let’s chat about safety. Just like you wouldn’t dive into a pool without checking the water, it’s wise to follow safety precautions while machining brass.
Conclusion
Machining brass is an art that combines precision, finesse, and a touch of creativity. Armed with the right tools, techniques, and knowledge, you’re well on your way to mastering this captivating field of engineering.
So, what’s your next move? Are you inspired to bring your ideas to life in metal? Remember, every master was once a beginner. Embrace the learning curve, and soon you’ll find yourself crafting stunning brass pieces worthy of admiration.
If you’ve enjoyed this guide and found it helpful, feel free to share it with fellow enthusiasts. After all, the machining community thrives on knowledge-sharing and collaboration. Who knows? Your next project could be the masterpiece that inspires someone else! Happy machining!


